
Omni CMS Accessibility Checklist
Here are some basic things you can do to ensure that your webpage is accessible in
Omni CMS.
- After saving a web page and clicking Publish, click the Accessibility button before
the final publish action. Also click the buttons to check spelling and links prior
to publishing.
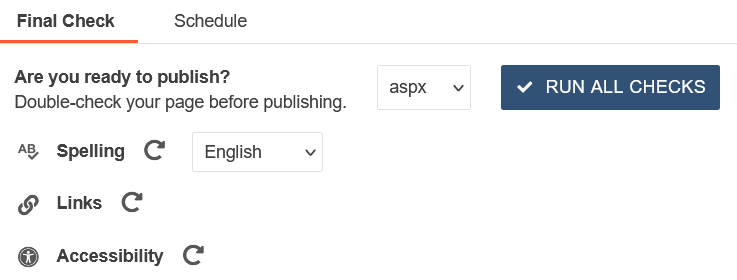
Accessibility check looks for issues in the page as defined by accessibility standards such as Section 508 and WCAG 2.0. It identifies three types of problems (known, likely, and potential):
- Known problems are issues that have been verified as broken or creating an error.
- Likely problems are items that the system identifies as most likely being an error, but needs to be reviewed by a user to determine if it's actually a problem or not.
- Potential problems are items where the system has identified code that may or may not cause errors, or the possibility of errors that cannot be automatically checked and require human review.
In the accessibility check results, each problem is listed with the location of the error in the source code, the name of the issue, an excerpt of the offending code, and a suggested repair.
Level 10 administrators can add exceptions to the accessibility check by clicking the "Make Exception" button next to an identified problem. Exceptions are still noted by the system but don't prevent page publish, if the page needs to pass page check to be published. When adding an exception from page check results, that exception is made for every page in the site. More information on Page Check tools is available.
- Use Accurate Page Titles
Web pages need to be properly titled to indicate that the user has moved from one web page to another. For users of assistive technology, it is often only the page title that indicates when they have moved from a one page to another in the same site. Pages must be uniquely titled to describe the purpose or topic of the page. - Alternative Text for Images
Provide alternative text (alt-text) or a description for every image or graphic. In OmniUpdate, alt-text is required when inserting an image on the page. . The alt-text should be as accurate as possible. Screen readers, used by the visually impaired, will use the description text to describe what the image is. - Provide a Text Equivalent for Non-Text Elements
If you have an infographic, make sure you have a text equivalent of that graphic that does not rely in visuals to convey information. For smaller on-page graphics this can be done with alt text. For larger or full-page infographics, link to a separate page. - Use Descriptive Link Text Instead of 'Click Here'
In a world where mobile is first, 'Click Here' has no meaning. You provide a better user experience by using calls to action or descriptive text in your links. Also, users with screen readers will be required to open every 'click here' link to determine the content of those links.
So instead of 'Click Here' use text like:- Browse all events
- Explore our academic programs
- View the 2019 Open House photos
- Sign up now!
- Register today - Use Clear and Simple Language
Web users typically scan for information and come to your website with a specific task in mind. When developing your site's content, know your audience and keep your users' tasks in mind while using clear and simple language to help them accomplish their objectives. - Use Responsive Data Tables
Table format on the web is discouraged due to its lack of accessibility and responsiveness. If you must display content in a data table, contact the Technology Center who can assist in making the data table responsive.